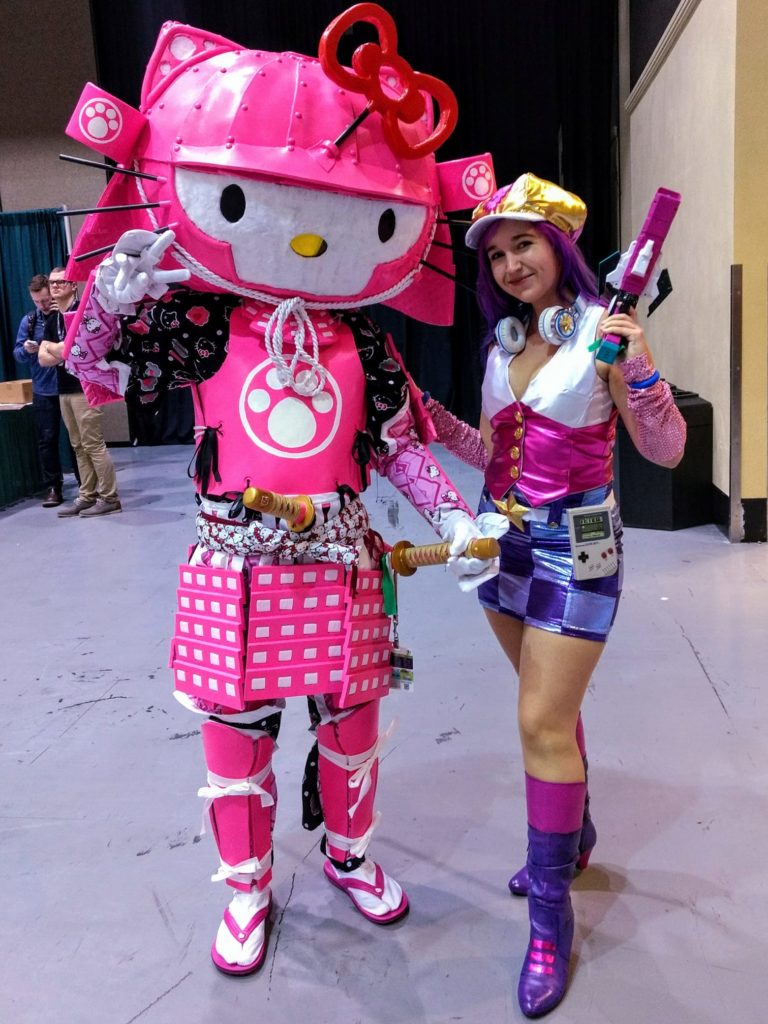
Miss Fortune Cosplay: Pics and How-To
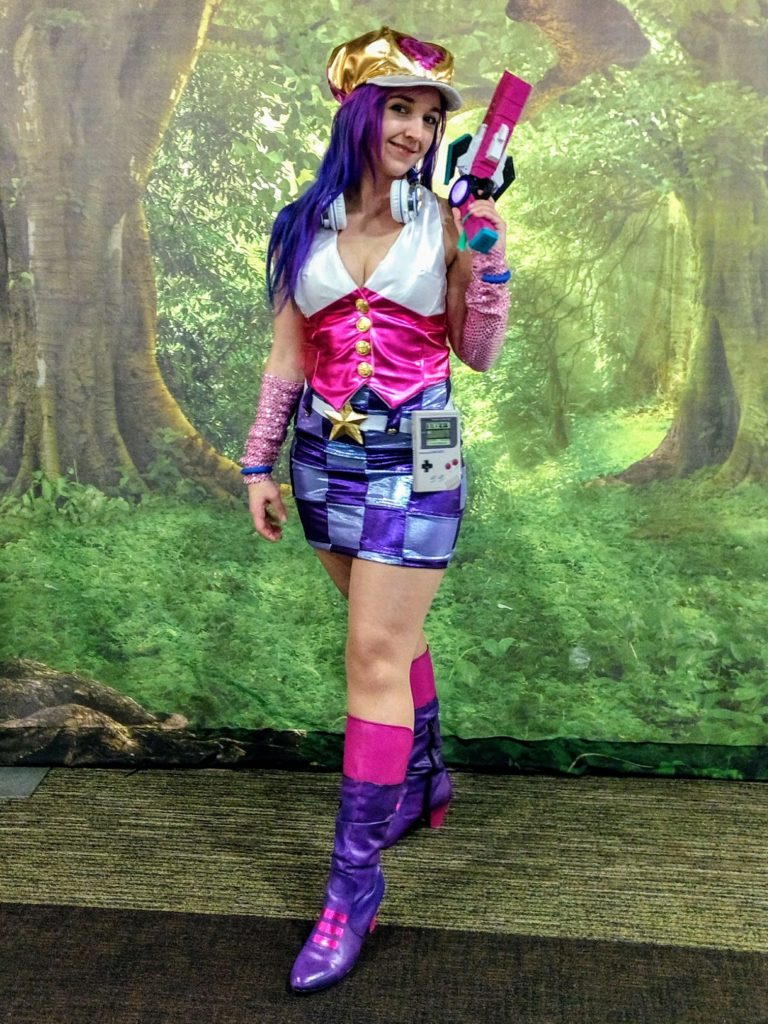
Unfortunately, I didn’t take many (if any) process shots while making this cosplay, because I was certain it wouldn’t actually turn out well, but lo and behold! I’m proud of it. I’ve added some illustrations, and I’ll do my best to recap and add tips for anybody trying to make their own. Also, apologies, by the time I took photos of the individual pieces they had been sitting in a box for a year, so just keep in mind they didn’t start out all wrinkly.
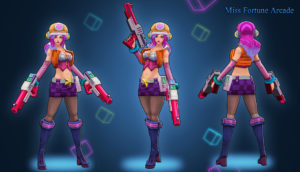
I used a few images and watched/screenshotted some gameplay on YouTube while making this outfit. The above 3d model was super helpful in particular! The main advice I have is try to find really accurate fan art if you’re using fan art for any of your references. As an example, I used one image that was beautiful, but showed Miss Fortune as having pink sparkly buttons, and I later chose to switch out the buttons for gold buttons once I realized that was more accurate.
Vest:
 |
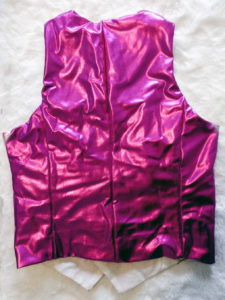 |
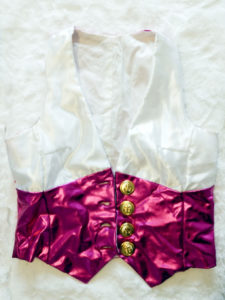
Materials: I used “Yaya Han’s 4-Way Stretch Metallic Fabric – Fuchsia” for the pink part. It worked really well and was great quality. Again, it’s wrinkly because I have treated it poorly. The only issue I had is that the color came off under the armpits from any sweat–I was nervous and it was really hot and stuffy in PAX, so it probably wouldn’t have otherwise been an issue. It wasn’t the end of the world, but the fabric directly under my armpits turned silver. It didn’t seem like water affected the fabric in the same way, so you should be fine in rain, etc. I ended up using a sharpie to draw some of the hot pink back on and used a waterproofing spray just on the armpit holes, and that fixed the problem for future wears. I used a basic white poly-satin for the top, and a slightly stiffer white liner fabric with some glitter for lining the entire vest. Neither had any stretch, and I didn’t have a problem sewing the Yaya stretch fabric to them.
Process: I cut up an old vest that fit me pretty well (unfortunately it didn’t actually fit me super well–I was convinced that the whole project would probably fail horrifically, so I wasn’t too concerned with getting things right at this point). I cut the vest up along the seams in order to make pattern pieces. I then added about 5/8 inch around each piece when cutting the pieces out. I did not have a precise system for this and eyeballing worked fine for my purposes, but I’m sure there is a right way to do that that probably involves pattern paper and measuring and other things I couldn’t be bothered with? Sewing the pieces together was fairly straightforward, just using sewing best practices in terms of which order to sew things in–I messed up once or twice and had to redo some seams. Oh! Important: The Yaya Han material will show any needle holes if you need to redo a seam, so if in doubt make sure to start with smaller seams and go bigger if you need to. This was my first time sewing button holes, so mine look like garbage, but luckily the buttons were big enough to cover them. I wore a Victoria’s Secret racerback push-up bra and found the straps stayed pretty well hidden and in place.
Skirt:
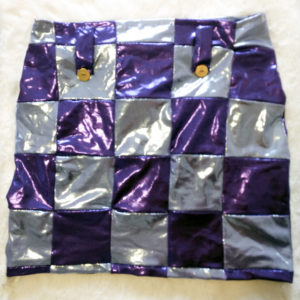 |
Materials: I exclusively used purple and light purple from “Yaya Han’s 4-Way Stretch Metallic Fabric” for the entire skirt. I didn’t bother lining it. The purple still seems to be available through cosplayfabricsinternational.com, but I can’t find the light purple anymore…maybe you’ll have better luck! Let me know if you find it or a good dupe and I’ll post a link here. The buttons were from Joann’s, but any little gold buttons will do–whatever your preference is.
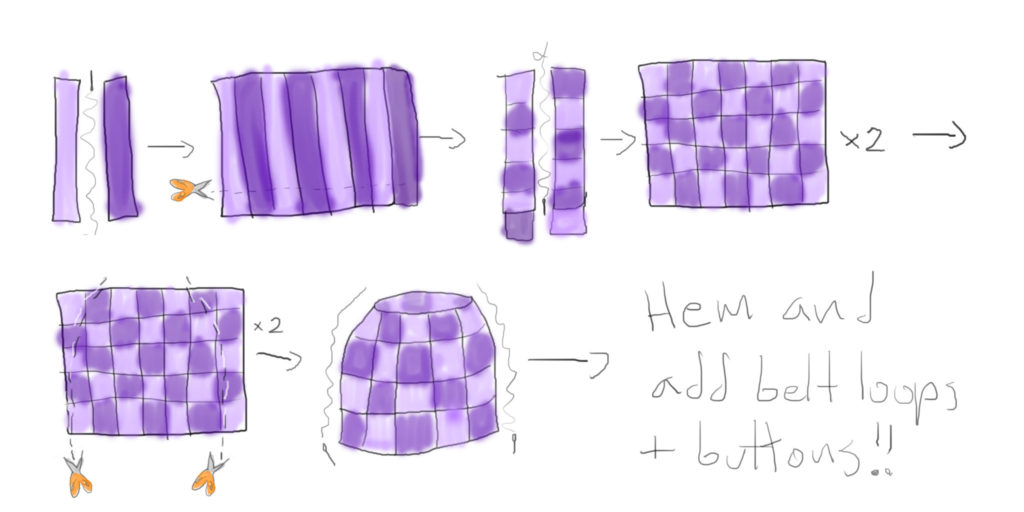 |
Process: This is a thing I actually measured to make sure it fit my body! Unfortunately, I had purchased my measuring tape through Amazon as part of a really cheap kit, and you get what you pay for, so I eventually realized that the measurements were nowhere near accurate and were in fact a blown-up photocopy of an actual measuring tape printed onto another “measuring” tape. Luckily! Since I measured my body and the fabric with the same measuring tape, it worked out fine. I basically cut the purple and light purple fabric into long strips and sewed them together, alternating light-dark-light-dark, etc. I then cut crosswise down those strips to get long strips with checkered squares, then I sewed those together, connecting dark to light in order to get a checkerboard pattern across a whole rectangle of fabric. (Important retrospective tip: double sew the strips together, or use fabric glue in addition. I have since had to mend little holes at the corners every so often because I didn’t make sure all the seams were secure after cutting the strip-rectangle up.) From the amount of fabric I had, I ended up with two roughly evenly sized rectangles, and I trimmed them to be more hip-to-waist shaped, then sewed them together, getting two side seams on the skirt. Then hemmed the bottom and top, and added belt loops out of the scrap fabric. I think I found it easier to hand-sew the belt loops and then also added the buttons by hand.
Hat:
 |
 |
 |
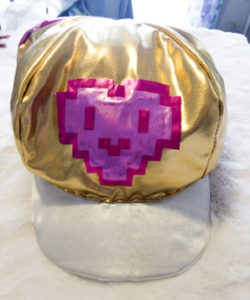 |
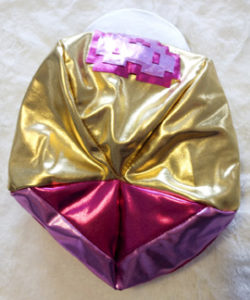
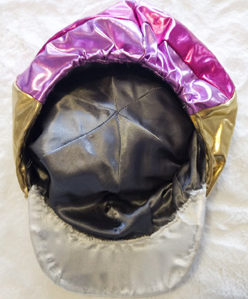
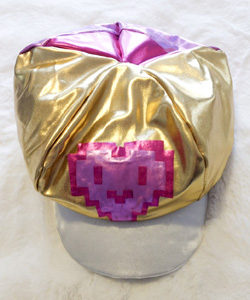
Materials: Cheap hat from a thrift store that has the basic shape you’re looking for–doesn’t have to be as poofy–we will add poof! Again, “Yaya Han’s 4-Way Stretch Metallic Fabric” in Fuchsia, Gold, and Light Pink. I also used some of the leftover white fabric from the bust portion of the vest, but you could avoid this step if you find a hat with a white brim. Fabric glue.
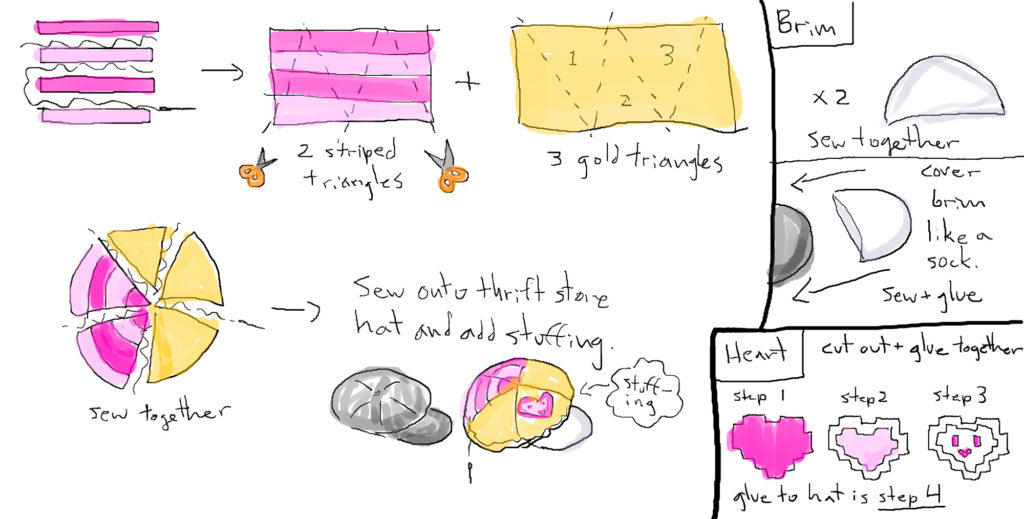 |
Process: I tightly covered the brim with white poly-satin, by basically making the brim a little sock and then using glue to make it conform to the brim’s curve. The original hat I bought was way too small to provide the poof I was looking for, so I made a new cap and sewed it over the old one, putting stuffing in-between. The new cap is constructed of 3 triangles of gold fabric, and two triangles of light pink and fuchsia stripes. The two back triangles were constructed in a similar way to the skirt, by sewing together light and dark pink fabric in stripes, then cutting it into the triangle shapes. I then sewed the five triangles together in order to make the dome shape of the hat, and sewed that over the original hat, stuffing in-between. Make sure to try it on as you’re figuring out the amount of stuffing, as your head will add poof. The heart is carefully cut out Yaya Han fabric glued in place. I originally drew out a pixel grid by hand to help get the shape correct. Feel free to use the image I created below, though you may need to adjust the size to fit your own hat.
Arm Warmers:
Materials: Light pink sequin fabric, found at Joann’s.
Process: I sewed them into tubes and hemmed them. The tubes should be slightly thinner at the wrists and bigger at the elbow. I started by making them a little too big, and redid the seams a couple times to make them more fitted–you could also probably get it right the first time by measuring, but why put yourself through that?
Props:
 |
 |
Gun: A toy gun my boyfriend found in storage and gave to me. I then painted it to match the Miss Fortune color theme. It’s not a great likeness and I only made one because I wanted to not have to carry two, but it got the job done and it makes sweet “pew pew pew” noises.
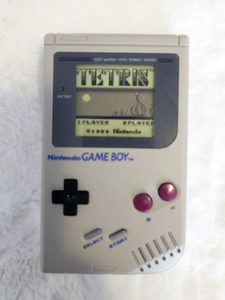
Gameboy: I didn’t want to shell out the money to buy an original gameboy, so I bought a gameboy shell and then printed out a Tetris game screen and attached it on the inside. The shell approach also helped because I attached it to the belt with velcro, and any more weight would have made it hang funny. I did use glue-on velcro, but ended up using super glue additionally on the gameboy side, and sewing it to the belt.
Belt: I think I made the star out of polymer clay coated in gold leaf, and the belt was a belt buckle and bulk belting (is belting a thing? Cording? Flat rope?) from Joann’s, which I then sewed a little piece of velcro to, in order to attach the gameboy shell.
Shoes: Purchased black leather boots at a thrift store and painted them with acrylic paint. Glued on strips of Yaya Han’s Fuchsia fabric for the laces. Finished with spray-on varnish. These could have been done better, and they didn’t hold up super well, as after a few wears the black leather shows through in the creases. Probably not super noticeable, but still there might be better ways to do these. They are also one of the less accurate parts of the costume.
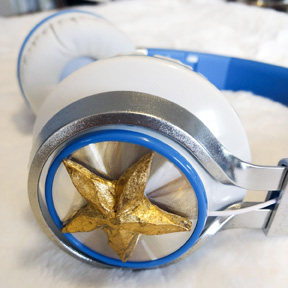
Headphones: Purchased on Amazon. Cut off the wire, then added clay stars covered in gold leaf on each side. Not an exact match to Miss Fortune, but got the point across.
Hair: Ion Color Brilliance semi-permanent dye in blue, hot pink, and purple. I already had my hair a light blue color, so I couldn’t get that vibrant hot pink color and settled for more purple. They also make Miss Fortune wigs, which is probably the way to go if you’re not into dying your hair all the time.
Orange Puffy Coat Vest Thing: I did not make one. I don’t remember why. If I had to guess what my reasoning was, it looks like a lot of work and it looks uncomfortable.
